webflow a/b testing (how to)
May 10, 2025
Learn how to effectively implement A/B testing in Webflow to enhance website performance and boost conversions through data-driven decisions.

A/B testing in Webflow helps you improve your website by testing different versions of elements like buttons, headlines, or layouts to see what works best. It’s a data-driven way to boost conversions, reduce bounce rates, and make informed decisions about your site’s design.
Key Takeaways:
Test one element at a time (e.g., button color, headline).
Use clear metrics like click-through rates or conversions.
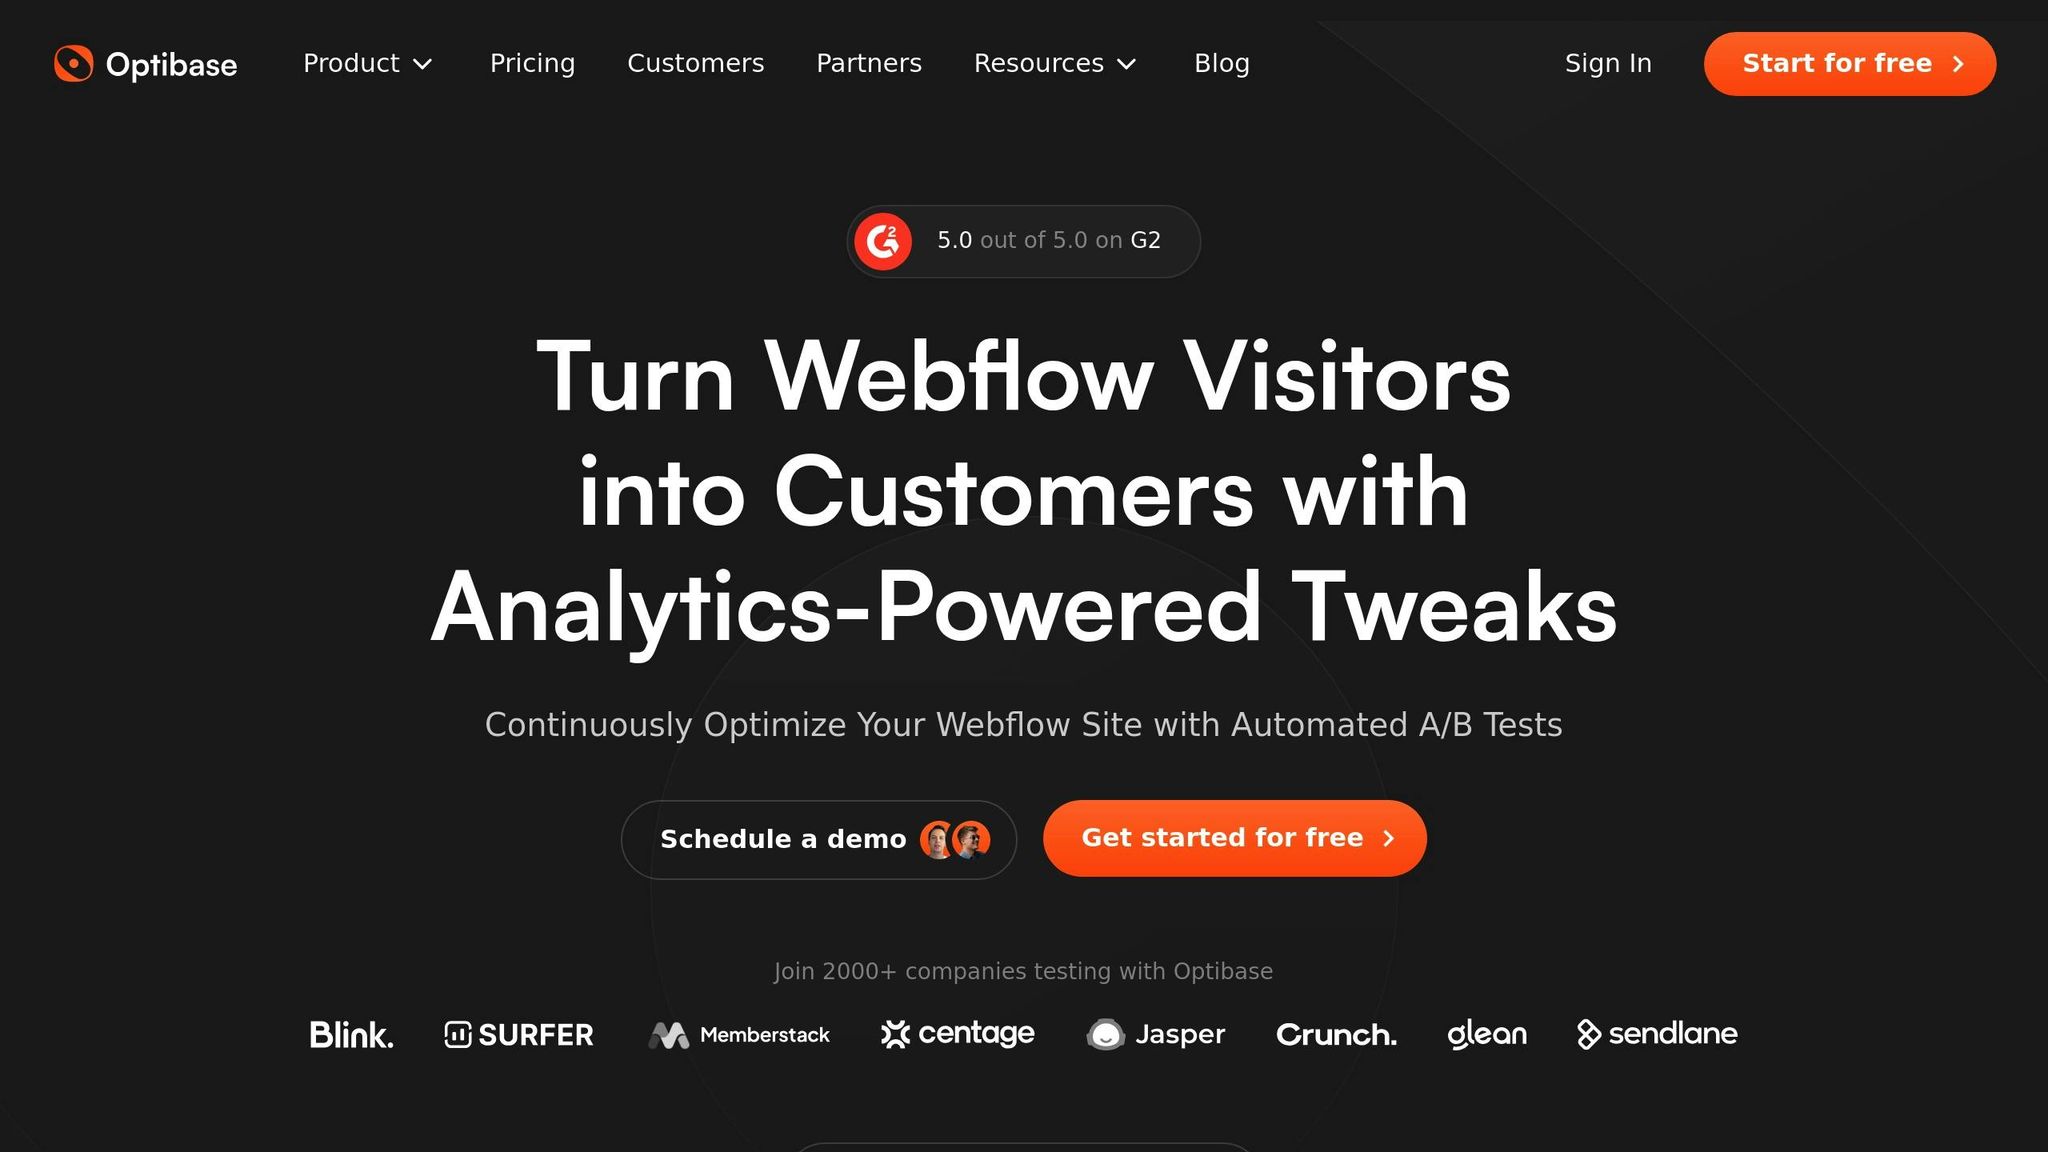
Tools like Optibase simplify A/B testing in Webflow with features like audience targeting, event tracking, and real-time analytics.
Focus on elements that impact user behavior, like call-to-action buttons, forms, and page layouts.
Quick Steps to Start:
Define your goal (e.g., increase sign-ups).
Create a control version and test variations.
Use tools like Webflow Optimize or Optibase for easy setup.
Analyze results to identify the best-performing version.
A/B testing is simple to start and delivers measurable results. Begin with small changes, track performance, and refine over time.
A/B Testing With Webflow (in 5 Minutes!)
Setting Up Your Webflow Project
Get your Webflow project ready for A/B testing by planning carefully and setting it up with precision.
Finding Test Opportunities
Focus on the elements that have the biggest impact on user behavior and conversions. Here are some key areas to consider:
Call-to-Action Buttons: Experiment with different text, colors, sizes, and placements to see what grabs attention.
Headlines and Copy: Test various value propositions and messaging styles to find what resonates most with your audience.
Forms: Optimize form length, layout, and button design to reduce friction and improve completion rates.
Page Layouts: Adjust content hierarchy and visual arrangements to guide users more effectively.
"I am really excited about Optibase because it fills in a massive need for Webflow"
Creating Test Variants
When building test variants, keep things consistent while isolating the changes you want to measure:
Establish Your Control
Start with a baseline version of your design. This is your "control" and will serve as the reference point for measuring improvements.
Design Variations
Create alternative versions that focus on specific changes to the elements you’re testing. This approach ensures that any differences in performance are directly tied to the adjustments you've made.
Quality Assurance
Before launching your tests, double-check that all your variants work flawlessly across different devices and browsers.
Setting Up Analytics
Use Webflow Optimize to implement analytics that prioritize privacy while delivering valuable insights. Here’s what you can expect:
Anonymous Tracking: Tracks visitors using local storage without collecting personal data.
Visitor Attributes: Measures key metrics like device type, new vs. returning visitors, geographic location, traffic sources, and UTM parameters.
For more detailed tracking, Optibase lets you monitor specific user interactions, including:
Click events
Form submissions
Once your analytics are in place, integrate your testing tools to ensure smooth execution.
Adding Testing Tools to Webflow
Once you've set up your analytics framework, the next logical step is integrating a testing tool into Webflow. This will help you refine your site’s performance and improve user experience.
Choosing the Right Testing Tool
One standout option is Optibase, an A/B testing solution designed specifically for Webflow. As a Webflow Enterprise Partner product, it integrates seamlessly and offers a suite of features tailored for conversion optimization.
Here’s what makes Optibase a great choice:
Works directly within the Webflow Designer
No coding required for test creation and management
Designed to maintain site performance with lightweight optimizations
Offers advanced event tracking
Allows targeting based on location and device type
Once you've decided on a tool like Optibase, the next step is integrating it into your Webflow project.
How to Install and Use Optibase
Getting started with Optibase is straightforward. Here’s a quick guide:
Setup and Configuration
Head to the Webflow marketplace to install Optibase. Once installed, open its dashboard within Webflow Designer. From there, set up your tests by defining parameters like audience segments, variations, goals, and tracking preferences.
Implement Tracking
Configure tracking for key interactions like clicks, form submissions, and custom conversion events.
"This is looooong overdue - great work to the team. Especially since Google Optimize was deprecated, there's a massive hole in the market. But even if Google Optimize was still here, Optibase is way better for Webflow." - Julian Galluzzo, Community Projects @ Memberstack
Optibase has already gained traction, with over 2,000 teams and agencies using it. Its compliance with GDPR and advanced audience segmentation features make it particularly appealing for businesses catering to global audiences.
For the best experience, use the web app interface to monitor test performance in real time. This eliminates the need to constantly open Webflow Designer, allowing you to make quick adjustments and track results efficiently.
Running A/B Tests
With Optibase set up, you’re ready to run A/B tests in Webflow. Here’s how to do it step by step.
Building Test Versions
Creating test versions in Webflow using Optibase is straightforward and doesn’t require coding.
Start with a Clear Hypothesis
Begin by defining what you’re testing and why. For example: “If we change the hero section’s headline from feature-focused to benefit-focused, we expect to see higher conversion rates because it emphasizes immediate value for visitors.”
Create Your Variants
Use Optibase’s Designer interface to tweak text, layouts, images, or call-to-action buttons. This tool lets you make changes visually without diving into code.
Perform Quality Assurance
Before launching your test, double-check that each version:
Works seamlessly across all devices and browsers.
Loads quickly and without errors.
Tracks conversion events accurately.
Setting Test Parameters
To get reliable results, configuring your test correctly is essential. Optibase gives you control over several key settings:
Parameter | Description | Suggested Setting |
|---|---|---|
Traffic Split | How visitors are divided | 50/50 for two variants |
Duration | How long the test runs | At least 2 weeks |
Audience Targeting | Who sees the test | Segment by location, device, or behavior |
Goals | Metrics to track | Conversion events, click-through rates, or engagement metrics |
Once your parameters are set, use Optibase’s real-time data to adjust and refine your tests as needed.
Reading Test Data
With analytics integrated, interpreting your test results becomes easier. Optibase provides real-time tracking, so you can monitor performance and decide when to act. Here’s what to focus on:
Primary Metrics: Start by reviewing your main conversion goals.
Secondary Metrics: Look at bounce rates, time on page, or other supporting data.
Segment Performance: Check how different audience groups respond to your variants.
Statistical Confidence: Ensure you’ve gathered enough data before declaring a winner.
Fixing Common Problems
When running A/B tests, there are a few common hurdles that need thoughtful handling.
Getting Enough Test Data
To ensure your test results are reliable, it's crucial to gather enough data. Tools like Optibase's calculators can help you determine the right sample size and test duration. By using these tools, you can plan experiments that produce results you can trust.
Conclusion
A/B testing in Webflow helps refine website performance by relying on systematic, data-backed tweaks.
Key Benefits
A/B testing offers several advantages, including:
Higher Conversion Rates: Pinpoint what appeals most to your audience and use it to boost results.
Lower Bounce Rates: Testing and improving design elements can create a more engaging experience that encourages visitors to stay longer.
Informed Decisions: Concrete data from tests ensures your design and content choices are backed by real insights.
Ongoing Optimization: Regular testing allows for continuous fine-tuning of your website's performance.
These benefits make A/B testing a straightforward, results-driven process.
Getting Started
Here’s how you can kick off A/B testing in Webflow:
Set Up Testing Tools: Use Webflow’s Custom Code section to integrate your preferred testing platform.
Test One Element at a Time: Focus on specific areas like CTA buttons, headlines, or layouts.
Analyze Results: Track performance with analytics tools and adjust based on the data.
Patience is key - start small with focused changes and build from there as you see results. Webflow Optimize’s AI-powered tools make the process smoother and help deliver insights faster.
FAQs
What are the key elements I should focus on testing in Webflow for A/B testing?
To pinpoint the elements on your Webflow site that could make the biggest difference, start by focusing on features that directly affect user engagement and conversions. Headlines and subheadlines, calls to action (CTAs), and key visuals are excellent starting points. Testing different versions of these can help you understand what truly connects with your audience.
You might also want to try out broader changes, like tweaking page layouts, adjusting color schemes, or rethinking element placement. Pay special attention to high-interaction areas, such as forms, navigation menus, or product showcases. These are the spots where small improvements can lead to big results.
What are the best practices for interpreting A/B test results accurately?
To interpret A/B test results effectively, zero in on key metrics such as conversion rates, engagement levels, and revenue impact. These metrics provide a comprehensive view of how your variations are performing. Keep an eye on the uplift - the performance difference between your test variation and the control - and the probability to be best, which indicates how likely it is that a variation will consistently outperform the control over time.
Before making any decisions, confirm that your results are statistically significant. Diving into audience segments can also uncover surprising trends or hidden opportunities, giving you a chance to fine-tune your approach. And don’t rush - make sure your test runs long enough to gather enough data for dependable insights.
How does Optibase simplify A/B testing in Webflow?
Optibase takes the hassle out of A/B testing in Webflow by providing a native integration - no coding required, and no risk of slowing down your site. With Optibase, you can experiment with different elements like text, images, and layouts, all while leveraging advanced tools like audience segmentation and customizable tracking.
On top of that, Optibase includes an intuitive web app that lets you monitor test results and dive into detailed analytics. This makes it simple to base your decisions on solid data, helping you boost conversions. It’s a comprehensive tool built to streamline and enhance your Webflow projects.